Paper
Serviette Holder with Cherries for Christmas
I saw a picture of this
crochet paper napkin holder on some Spanish site and made it just by looking at it. It looked very pretty and thought it would make a nice gift at Christmas time too with the
cherries and a green border in Christmas colours. They were quite a hit and I bet you can make these
crochet paper serviette holders to give away to your friends and family as well. I have written out my own instructions and am sharing them with you. They are basically granny squares so if you are adept at crochet you wont even need them but its always easier when you get the
crochet pattern all ready for you.
Material : Knitting
Cotton - White, green and red.
Gauge: after Row 1,
measures 1 inch across or down.
Dimensions : 8.75” x
8.75” square
Using white start with
6 ch and join with a sl st to form a ring.
Row
1:
3 ch (counts as first tr), 2 tr in ring, 2 ch, (3 tr in ring, 2 ch) 3 times, ending
with sl st in top of 3 ch.
Row
2:
sl st into each of next 2 tr and into 2 ch sp, 3 ch, 2 tr, 2 ch, 3 tr in same 2
ch sp to form a corner. (2 ch, 3 tr, 2 ch, 3 tr in next 2 ch sp) 3 times to
make 3 more corners ending with ch 2, sl st in top of 3 ch.
Row
3:
sl st into each of next 2 tr and into 2 ch sp, 3 ch, 2 tr, 2 ch, 3 tr in same 2
ch sp to form a corner. ( 2 ch, 3 tr, 2 ch in next 2 ch sp. 3tr, 2ch, 3tr in
next 2 ch space to form the next corner) 3 times ending with 2 ch, sl st into
top of 3 ch.
After
Row 3, please note that instead of 2 ch at the corners, you have to make 3 ch.
Row
4:
sl st into each of next 2 tr and into 2 ch sp, 3 ch, 2 tr, 3 ch, 3 tr in same 2
ch sp to form a corner. ( (2 ch, 3 tr, 2 ch in next 2 ch sp.) 2 times, 3tr, 3ch, 3tr in next 2 ch space to form the
next corner) 3 times ending with 2 ch, sl st into top of 3 ch.
Row
5:
sl st into each of next 2 tr and into 2 ch sp, 3 ch, 2 tr, 3 ch, 3 tr in same 2
ch sp to form a corner. ( (2 ch, 3 tr, 2 ch in next 2 ch sp.) 3 times, 3tr, 3ch, 3tr in next 2 ch space to form the
next corner) 3 times ending with 2 ch, sl st into top of 3 ch.
Row
6:
sl st into each of next 2 tr and into 2 ch sp, 3 ch, 2 tr, 3 ch, 3 tr in same 2
ch sp to form a corner. ( (2 ch, 3 tr, 2 ch in next 2 ch sp.) 4 times, 3tr, 3ch, 3tr in next 2 ch space to form the
next corner) 3 times ending with 2 ch, sl st into top of 3 ch.
Row
7:
sl st into each of next 2 tr and into 2 ch sp, 3 ch, 2 tr, 3 ch, 3 tr in same 2
ch sp to form a corner. ( (2 ch, 3 tr, 2 ch in next 2 ch sp.) 5 times, 3tr, 3ch, 3tr in next 2 ch space to form the
next corner) 3 times ending with 2 ch, sl st into top of 3 ch.
Row
8:
sl st into each of next 2 tr and into 2 ch sp, 3 ch, 2 tr, 3 ch, 3 tr in same 2
ch sp to form a corner. ( (2 ch, 3 tr, 2 ch in next 2 ch sp.) 6 times, 3tr, 3ch, 3tr in next 2 ch space to form the
next corner) 3 times ending with 2 ch, sl st into top of 3 ch.
Row
9:
sl st into each of next 2 tr and into 2 ch sp, 3 ch, 2 tr, 3 ch, 3 tr in same 2
ch sp to form a corner. ( (2 ch, 3 tr, 2 ch in next 2 ch sp.) 7 times, 3tr, 3ch, 3tr in next 2 ch space to form the
next corner) 3 times ending with 2 ch, sl st into top of 3 ch.
Row
10:
sl st into each of next 2 tr and into 2 ch sp, 3 ch, 2 tr, 3 ch, 3 tr in same 2
ch sp to form a corner. ( (2 ch, 3 tr, 2 ch in next 2 ch sp.) 8 times, 3tr, 3ch, 3tr in next 2 ch space to form the
next corner) 3 times ending with 2 ch, sl st into top of 3 ch. Fasten off.
 |
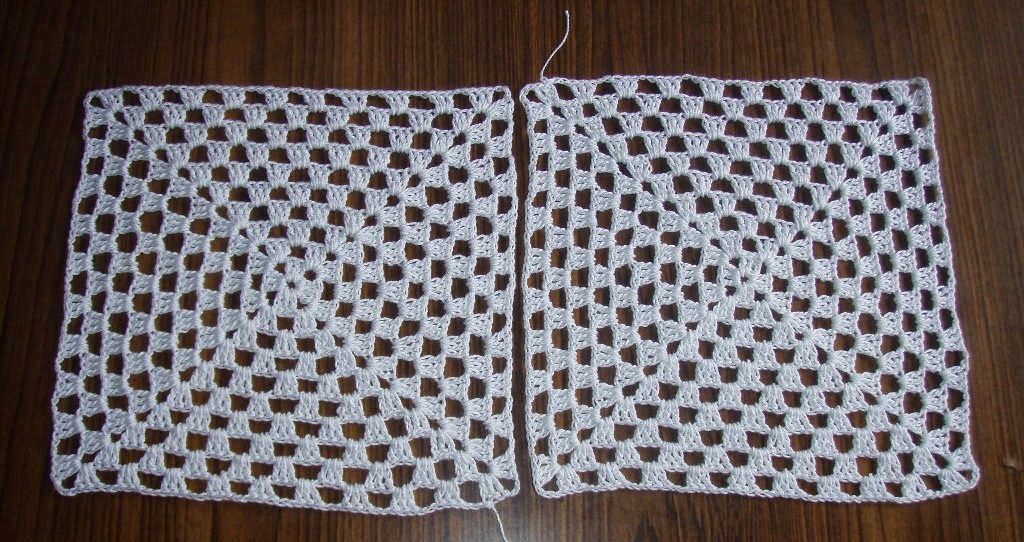
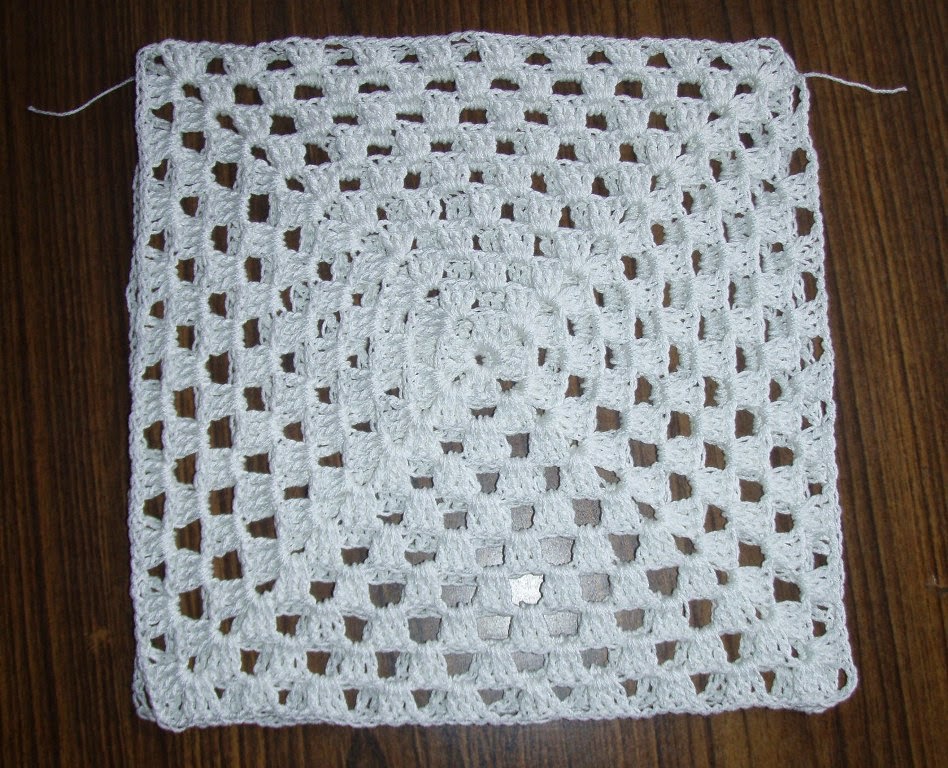
| Make two granny squares for the paper napkin hoder |
Place the two complete
pieces one on top of the other with wrong sides facing each other as shown in
the picture below.
 |
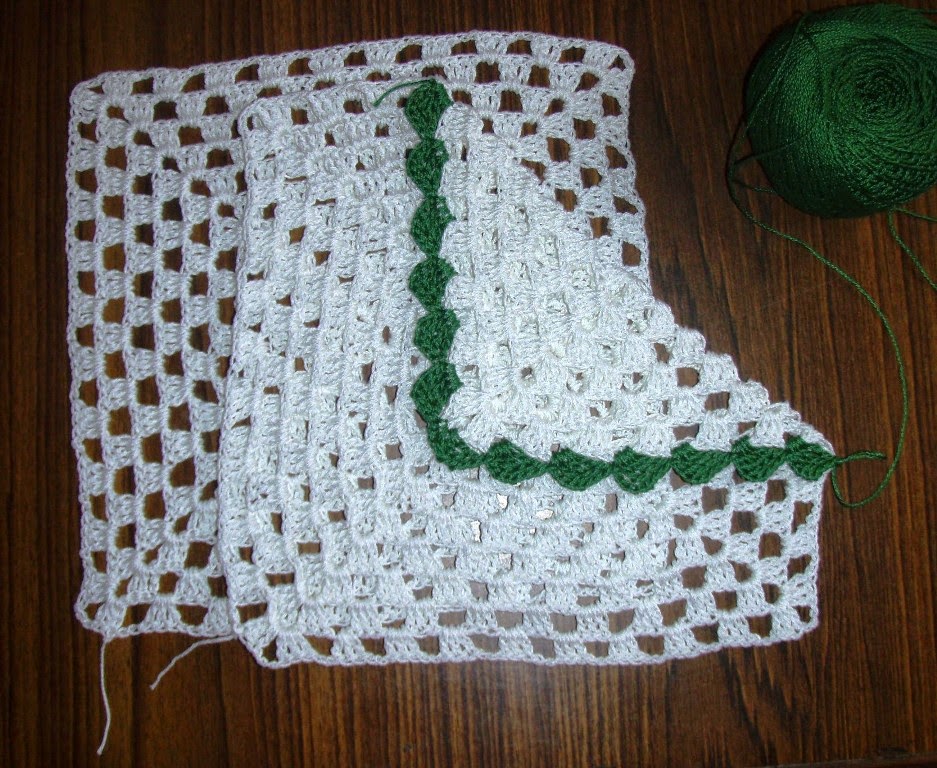
| Granny squares put together for serviette holder |
Turn a corner of the
top motif towards the center.
Starting at the bottom
right corner, join green thread with a sl st into 4th 2 ch sp.
(4 ch (counts as 1st
dbl tr), 3 dbl tr into same 2ch space, dc in next 2ch sp.) 13 times. This
completes the border for the triangular overturned flap.
 |
| Steps to make crochet paper serviette holder |
Dc into the lower motif
as shown in the picture below.


